1 · Open the playground
Go to /playground/new — or press Start drawing anywhere on the site. A new reel always opens on the template picker.
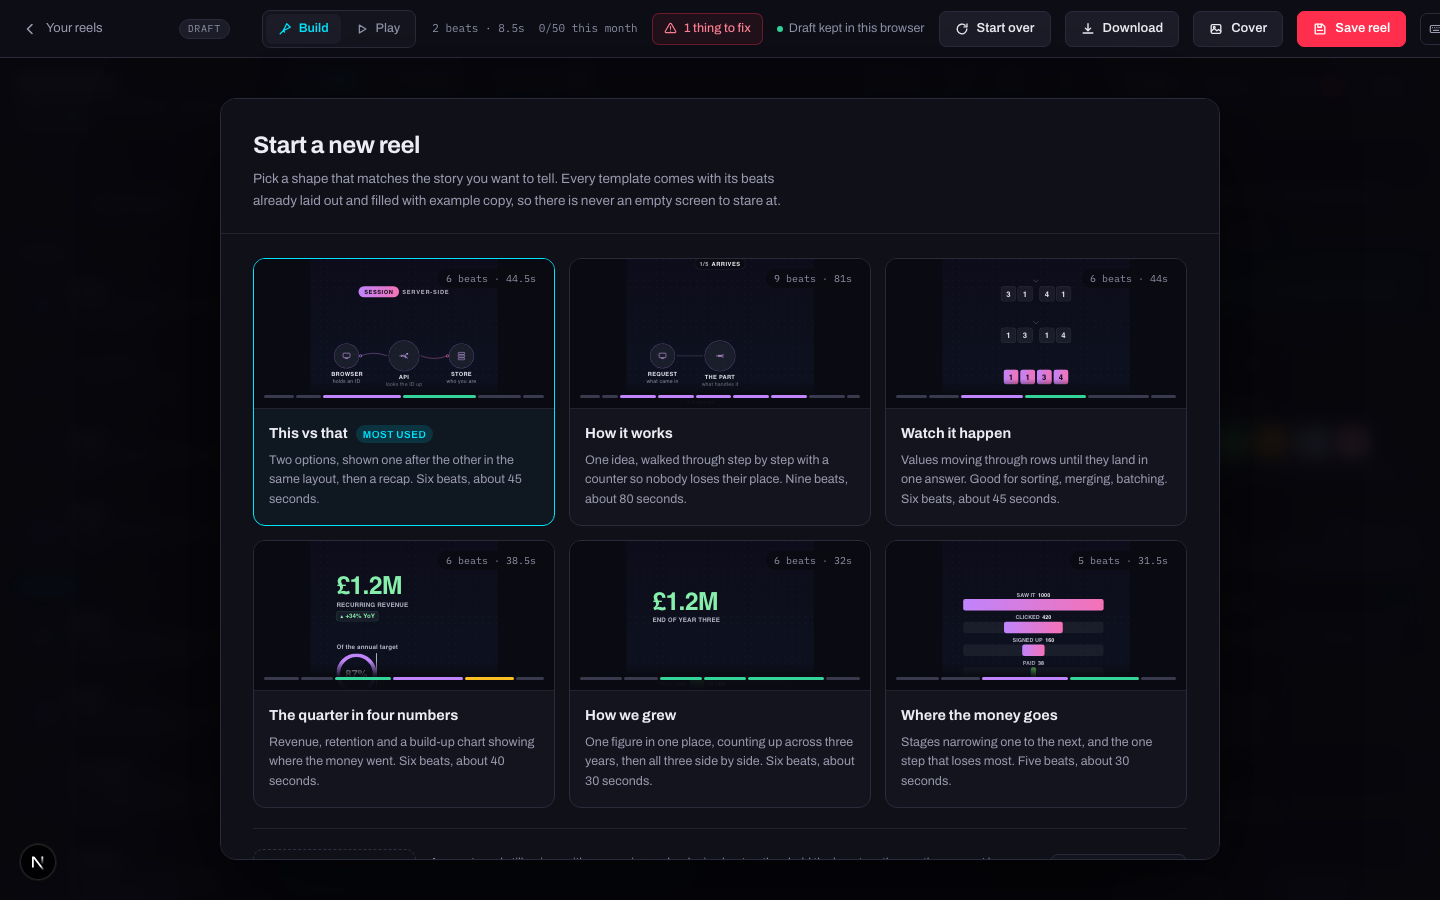
Pick This vs that for your first reel. It is the shape most people arrive wanting — two options, one after the other, then a recap — and it is the one this walkthrough follows.
2 · Find your way around
Four areas, and they do not move:
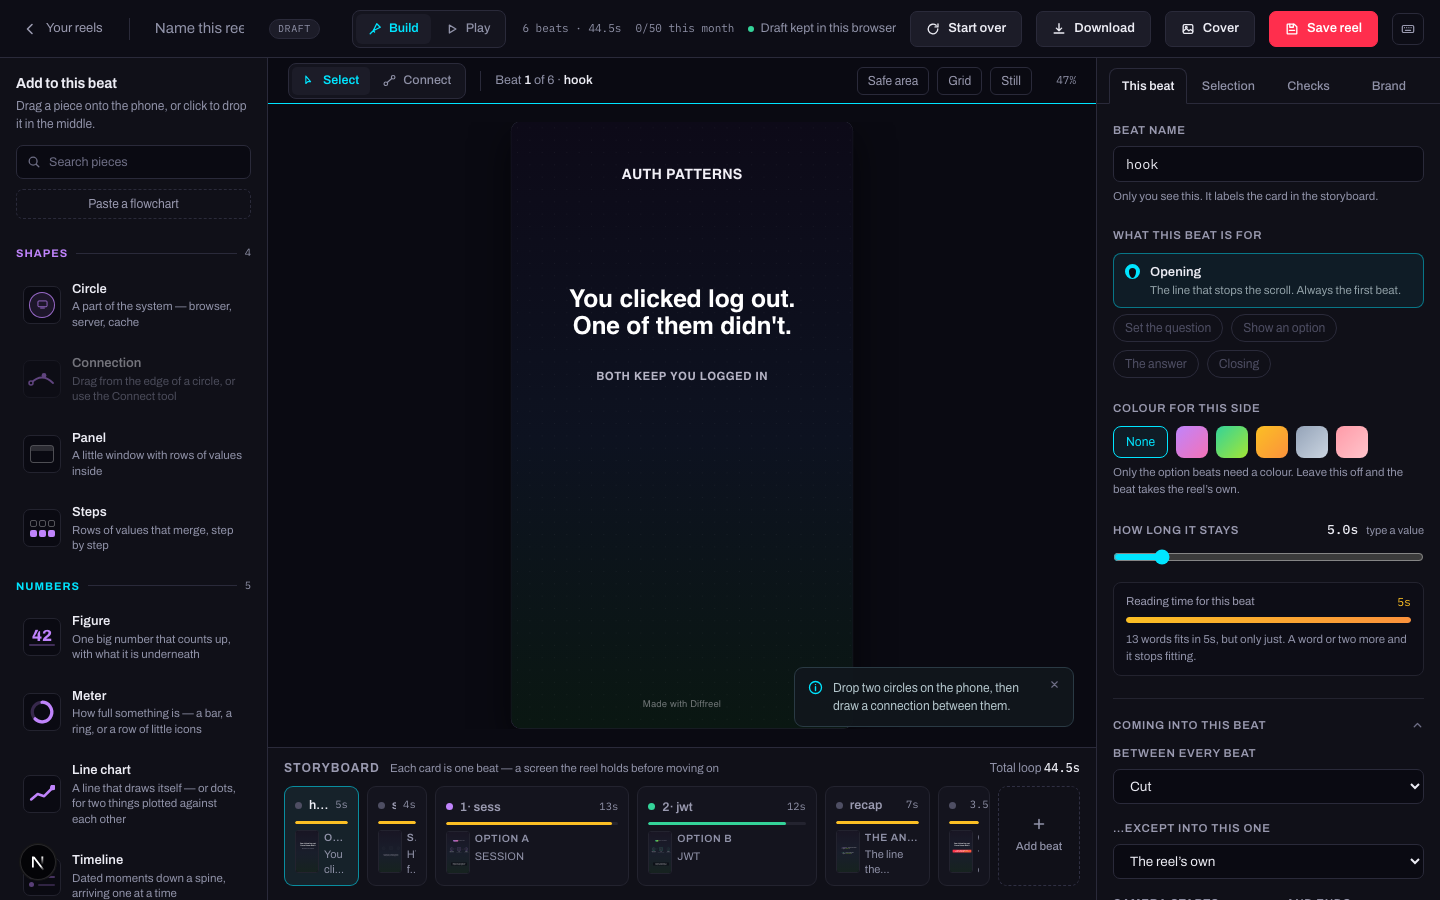
- The toolbox, on the left. Every piece you can add, in four groups — Shapes, Numbers, Words, Labels. Drag one onto the stage, or click it to drop it in the middle.
- The stage, in the middle. What the reel looks like on the beat you are standing on. Drag pieces around it; they snap to an 8-pixel grid.
- The storyboard, along the bottom. One card per beat, in order, each showing its length. Click a card to stand on that beat.
- The panel, on the right. Five tabs: This beat, Selection, Checks, Brand, and History once there is something in it.
Along the top: the reel's name, the Build / Play switch, how many beats and seconds it runs, where your month stands, and the buttons that save, download and start over.
3 · Change the words
Click any piece on the stage. The panel switches to Selection and shows everything about it — its text, its colour, its shape, how it arrives.
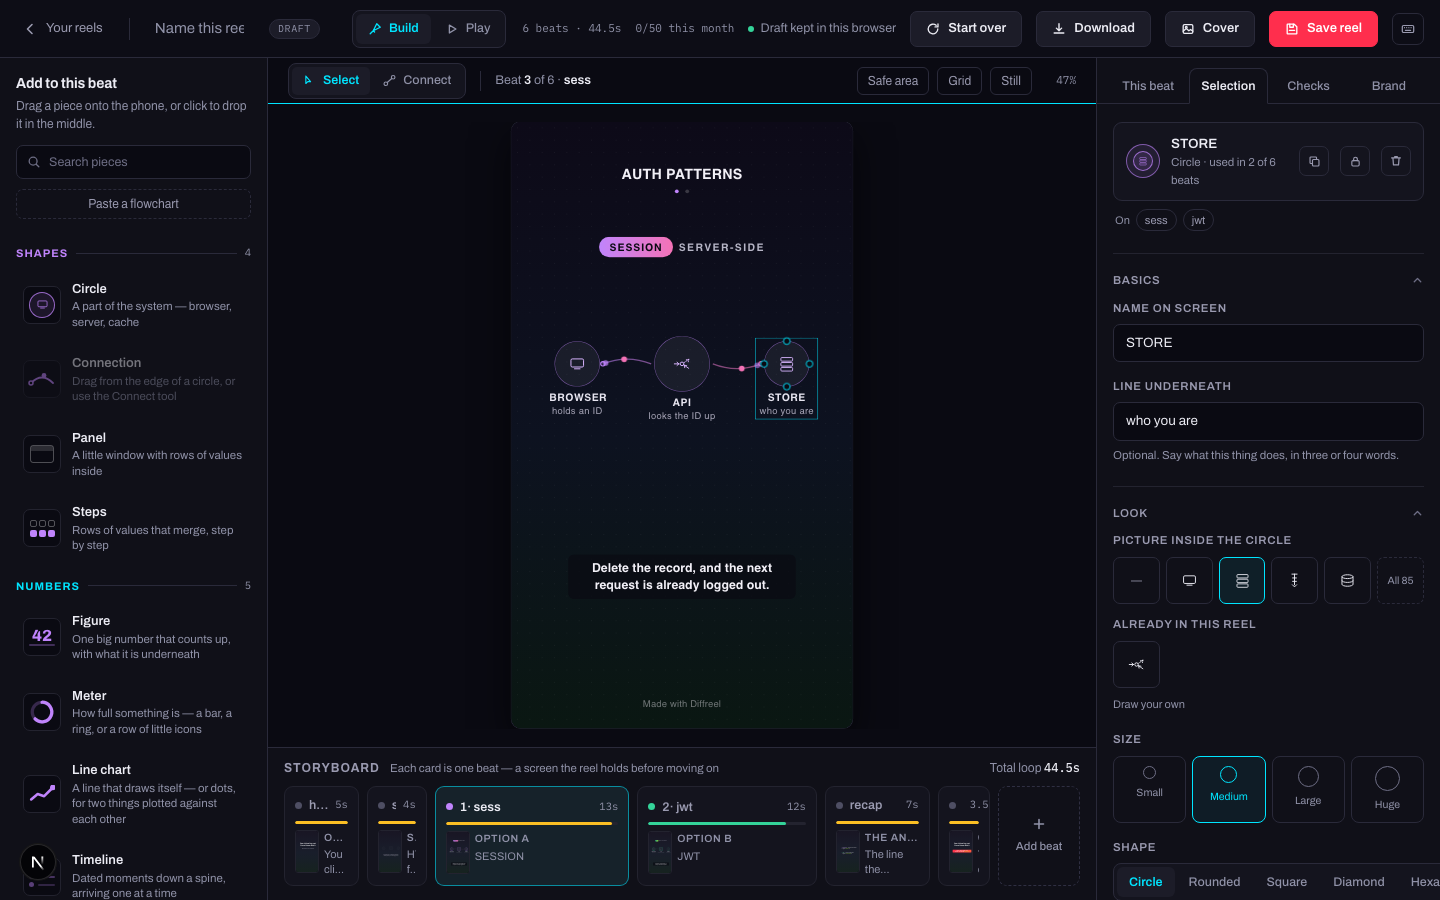
Work through the template beat by beat, replacing the example copy with yours. Two habits worth forming now:
- Keep lines short. The beat panel shows a reading-time bar for the beat you are on and tells you when the words no longer fit in the seconds you gave them.
- Say one thing per beat. A beat is a screen somebody reads once, moving.
4 · Draw a connection
Two circles with a line between them is the sentence most explainers are made of. Put two circles on the stage, then switch to Connect in the toolbar above it, click one circle, then the other.
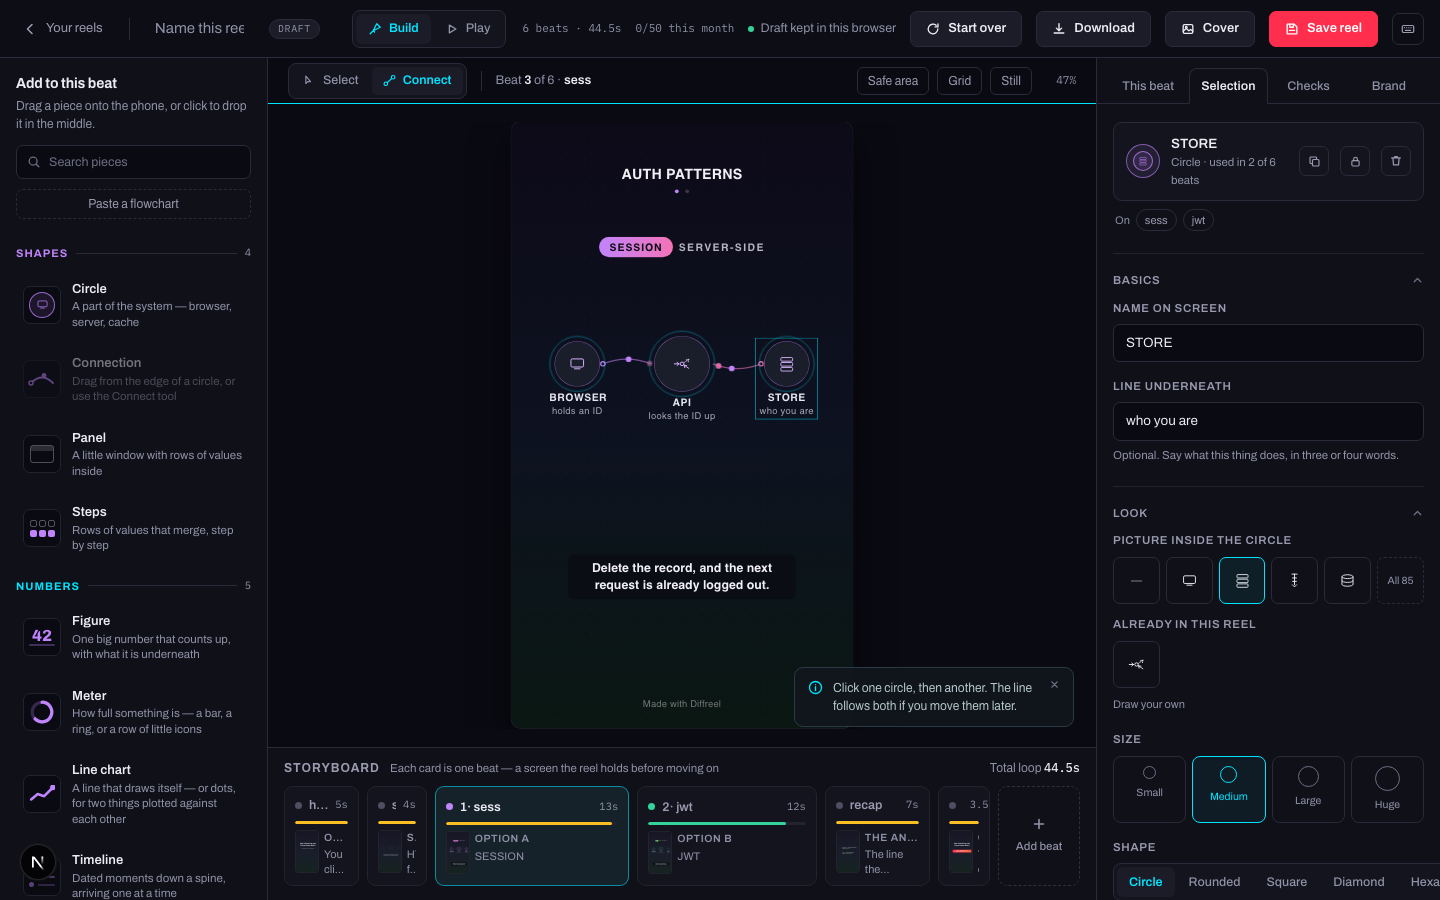
Select the line afterwards to say what it is doing — Carrying, Waiting, Unused, Streaming or Plain. That one choice sets its colour, whether it draws itself, and whether a dot travels along it. The connections chapter has the full set.
5 · Arrange the beats
Click a card in the storyboard to stand on that beat. The This beat panel is where you name it, say what it is for, give it a colour and set how long it holds.
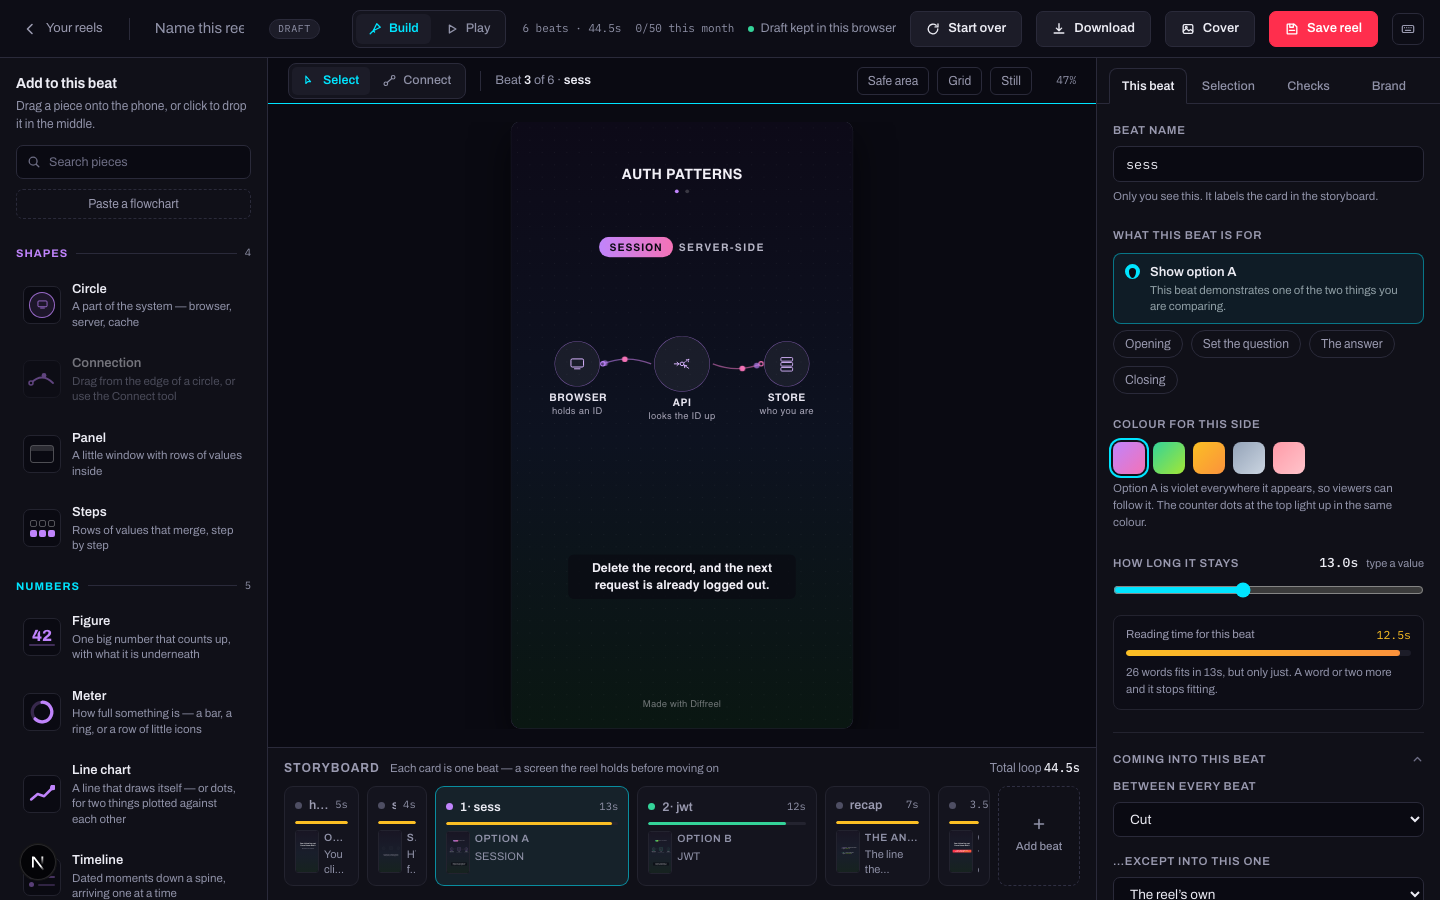
Add beat at the end of the storyboard inserts a new one. Drag a card to reorder. A reel needs at least an opening and a closing beat, and the playground will not let you remove those two — they are what the loop joins back up through.
6 · Watch it
Switch to Play at the top. The reel runs exactly as anyone else would see it, beat by beat, and loops.
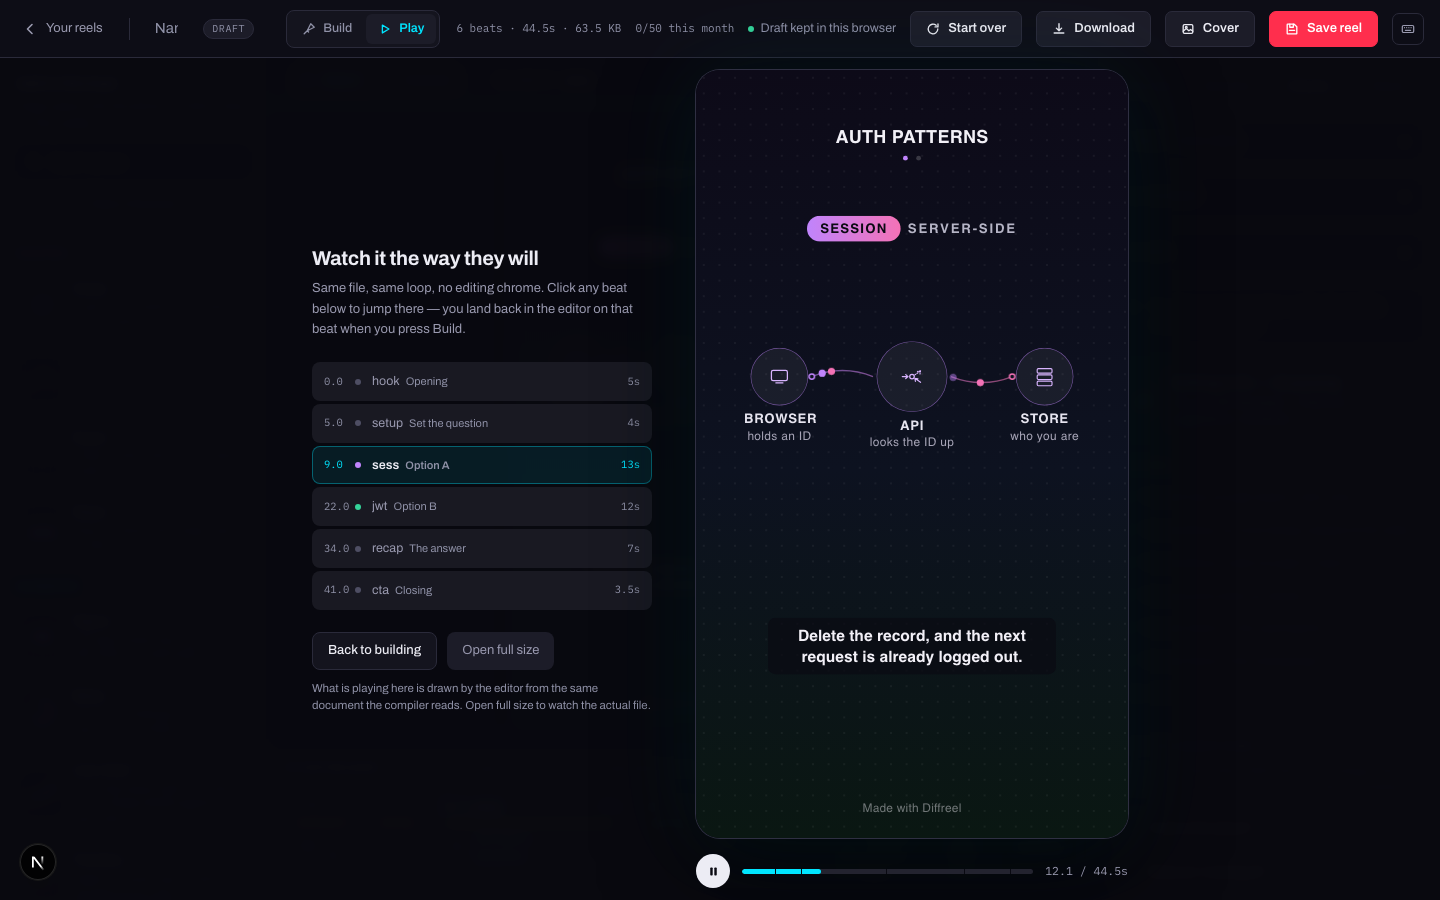
Watch it twice. The first time you check whether it says the thing; the second you check whether it says it fast enough. Then switch back to Build.
7 · Run the checks
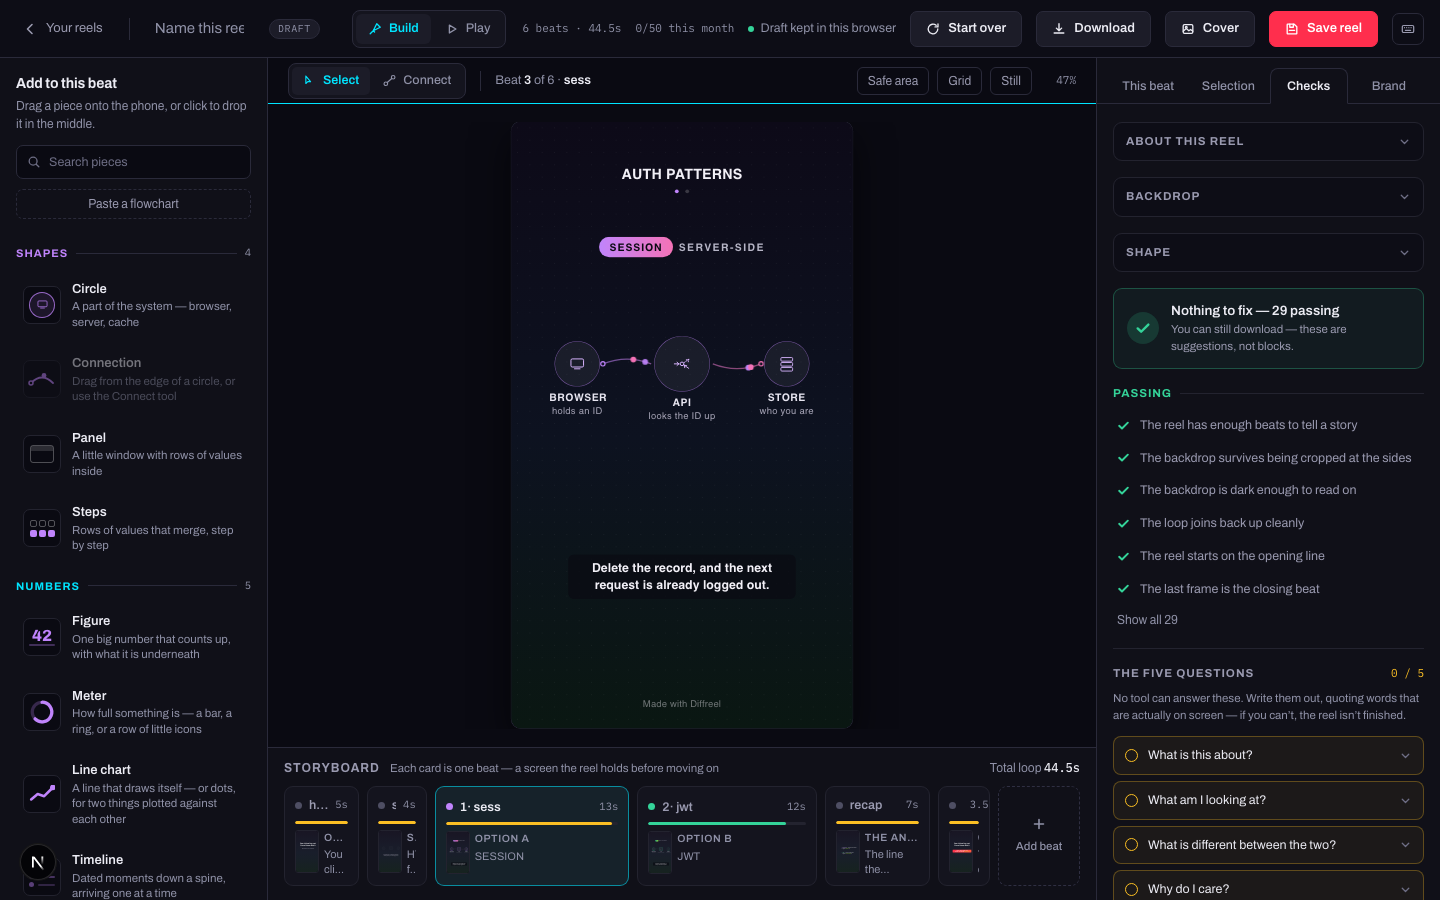
The Checks tab reads the reel and reports anything that will hurt it — words too small to read on a phone, a backdrop too pale to sit text on, a beat that holds less time than its words need, a loop that does not join up.
8 · Save it
Give the reel a name in the field at the top — it will not save without one — then press Save reel, or ⌘ S.
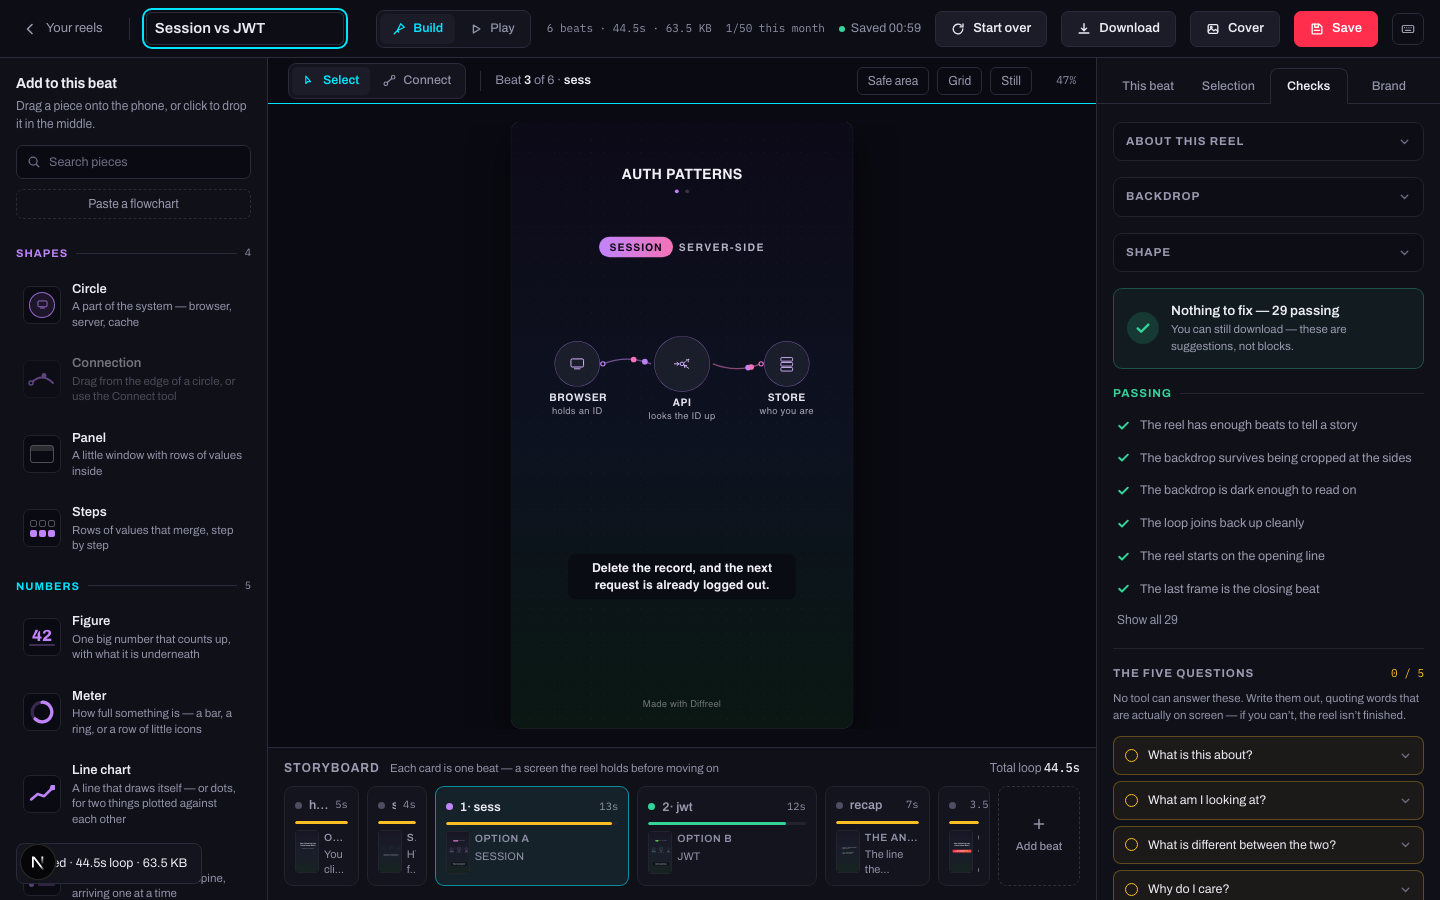
Saving a reel for the first time
- What changes
- The draft becomes a reel on your account, and one of the month's reels is spent.
- Who sees it
- Only you. Nothing you draw is published, listed or shown to anybody else.
- When to do it
- Once the reel is worth coming back to. Until then it stays as a draft in this browser and costs nothing.
- Cannot be undone
- The month cannot be given back — see the plans chapter for exactly what counts. The reel itself stays yours and stays editable forever.
Every save after that is free. Editing a reel — for a minute or for a year — never spends anything.
What to read next
That is the whole loop. From here:
- Every piece — the toolbox, group by group, and what each one is for.
- Beats and timing — roles, lengths, transitions, and what makes a loop join up.
- Plans — what counts against your month, and what Plus unlocks.